
I’ve received lots of requests to explain my process regarding interior photography. London doesn’t lack interior photographers but very few share their tips.
(Please note: This is not the ultimate guide to interior photography, these are instead tips that work for me and I hope can help you too)
1 – Ask your client questions and listen to their brief
One question I always ask my clients is “What is it you are unhappy with in your current set of photos?” (if they have any). This allows you to decide if you are the right person for the job. It's also a good way to establish if they actually know what they want the end result to be.
Any question you can think of is a good question and no one will hold it against you to dig a little deeper, it shows interest and professionalism.
Make sure you understand the brief to deliver the best result.
2 – Invest in a sturdy tripod
Using a tripod means you can use slower shutter speeds and lower the ISO to its minimum, resulting in sharper shots / less noise.
It also helps you get longer exposures for better use of natural light.
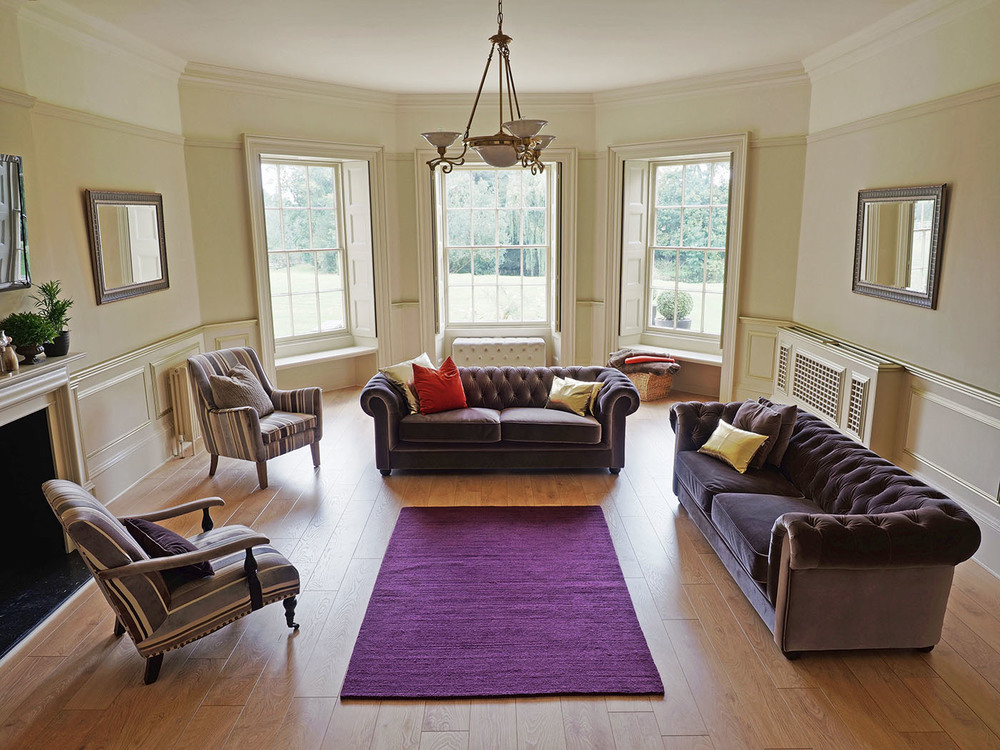
3 – Get a quality wide-angle lens if you don’t already own one
I know this is obvious. However beware of super wide-angle as it’ll give an excessive fisheye and un-natural look
4 – Get your settings right
Because each photo will be different and shot in various rooms, make sure prior to each shot that your settings are optimal. This means low ISO for less noise, correct aperture, etc…
For example, I shoot with an aperture of f5.6 t f8. This tends to be the sweet spot for good detail.
Early days I’d get back home and realise I shot at a very good image at f1.4, resulting in lower detail. Amateur hour but that’s how you learn (Yes, a large aperture may allow more light in but it often also means less detail in the background).
5 – Shoot less and shoot better aka get it right “in-camera”
Initially when I went on my first jobs I used to shoot thousands of photos in fear of not having enough good ones. I’d even shoot 6 times the same shot for no valid reason. What that resulted in was hours selecting the best shots. A total waste of time I could have spent in post-processing.
So my advice is take your time and shoot less but better. Compose your shots well, be perfectly leveled to minimise the need to crop, move forward/backwards with the tripod to find the best frame. Move furniture if that allows you to get more of the room in the photo.
Another thing I realised is that you should not compose the shot looking at the room directly but instead do it through the viewfinder. Using a wide-angle means things look different so what matters is what shows in the viewfinder.
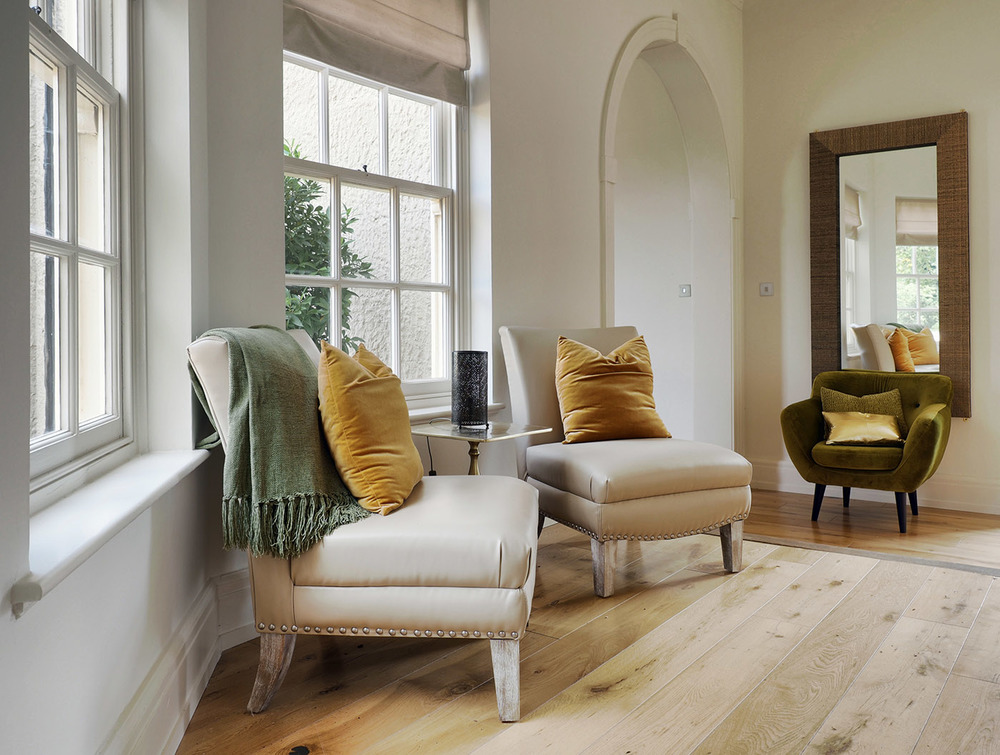
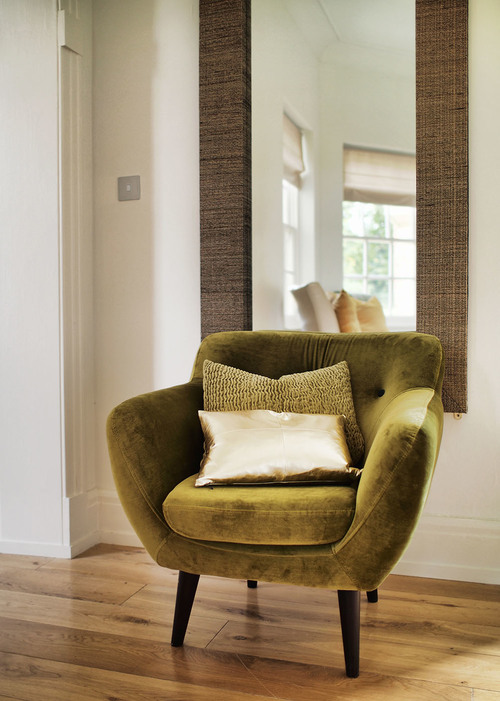
6 – Attention to detail
Make sure everything in the shot is where it should be, that floors are clean, that you don’t appear in any reflection (duh!), blinds are all lined up, etc… Even down to the exterior, you don't want to realise that the room was fine but a bin or a car were visible outside a window.
Your shooting technique won’t matter if you get home and find an element in the shot was wrong.
7 – Do not fear multi-exposures aka HDR for interior photography
The problem when you say HDR is people immediately think un-natural. That’s because in most cases HDR is not done properly (think that guy on Flickr who keeps posting HDR landscapes with huge halos around trees and way over-saturated).
HDR (High Dynamic Range) is a technique meant to better reproduce the way us humans see. Cameras are pretty crap when it comes to interiors. Try it yourself by shooting a room with a window in the background on a sunny day.
The result? You get a well lit room but the window is massively bright with no detail of what’s outside.
The purpose of HDR is to shoot 3 exposures. One under-exposed (so you see what’s outside that window), one over exposed (for detail in the foreground) and one “normal” shot. Merge these 3 and when done well, you end up with a perfectly lit shot of the room, and yet still with the ability to see what’s outside.
8 – Use natural light as much as possible
And that’s possible with HDR and a good tripod. It’s a matter of taste, a lot of people use flash but I personally like natural light. With the exception of basements of course, I tend to leave most lights off in the room I shoot if during the day and plenty of daylight is available. But then this is more down to my client’s preference.
9 – Shoot in RAW
I shoot each photo in both RAW and JPEG. RAW just allows more forgiving and flexible post-processing.
10 – Make time for post-processing / editing
In interior photography, shooting is only half of the job. Once finished there will still be a lot of post-processing required, however careful you were to get it as right as you can in-camera. So allocate plenty of time for it.
That's it for starters, but of course if you have any questions drop me a line.
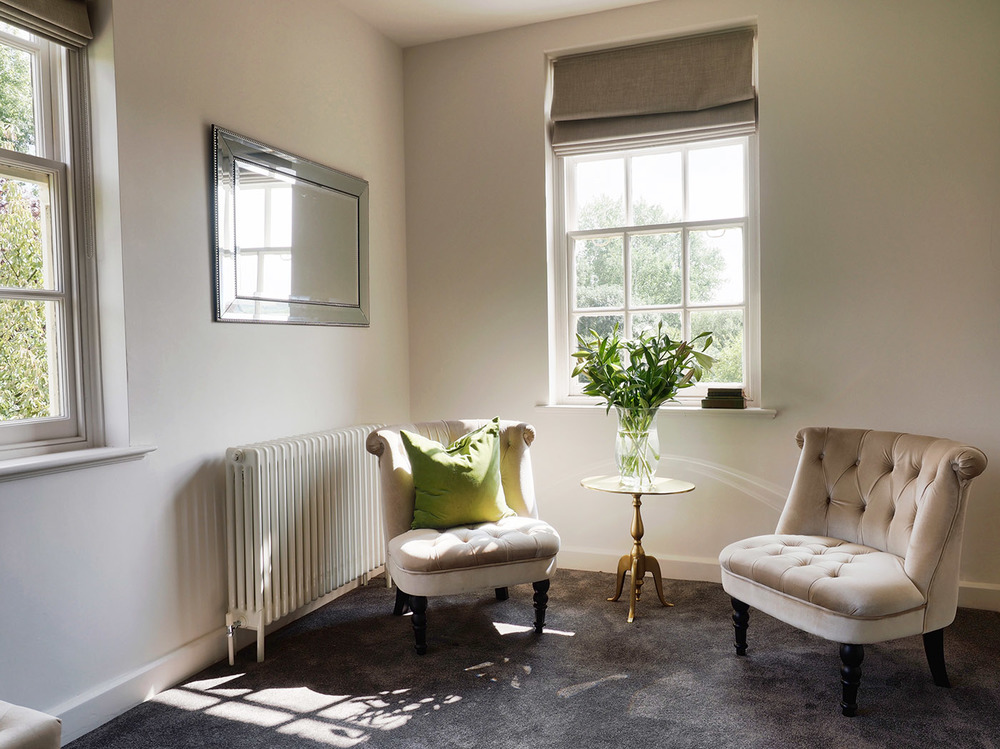
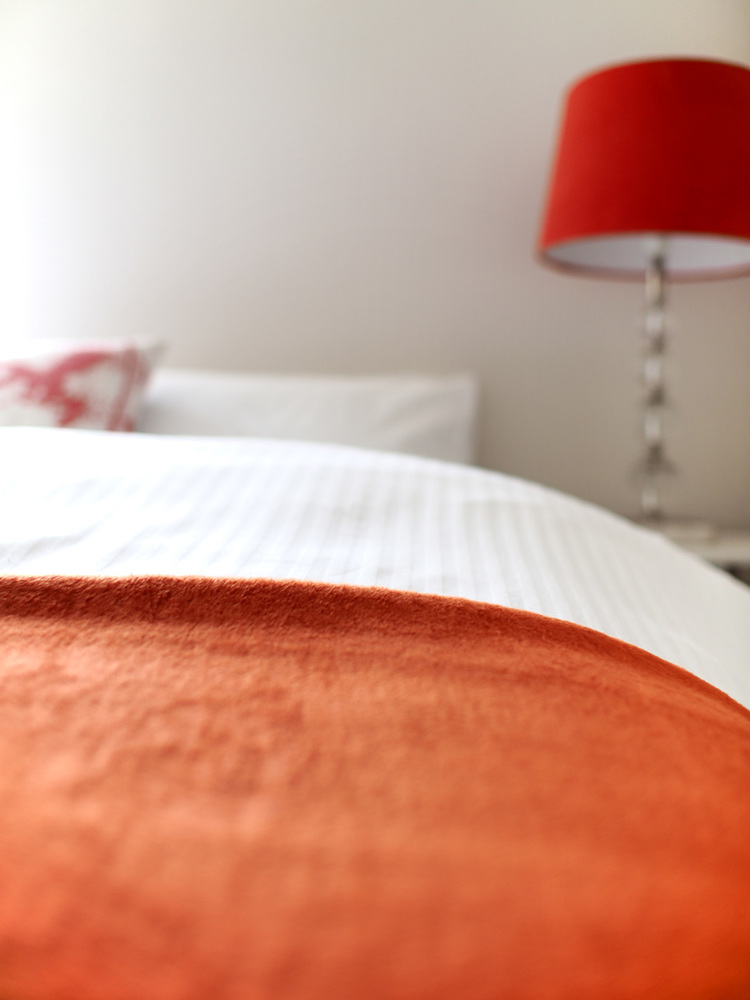
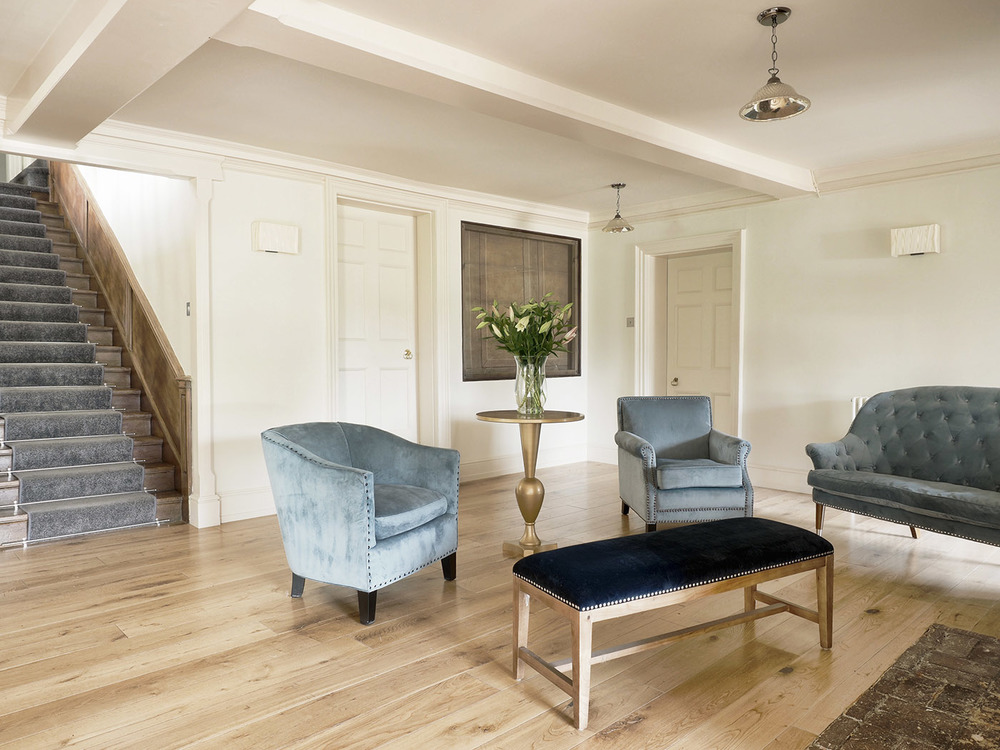
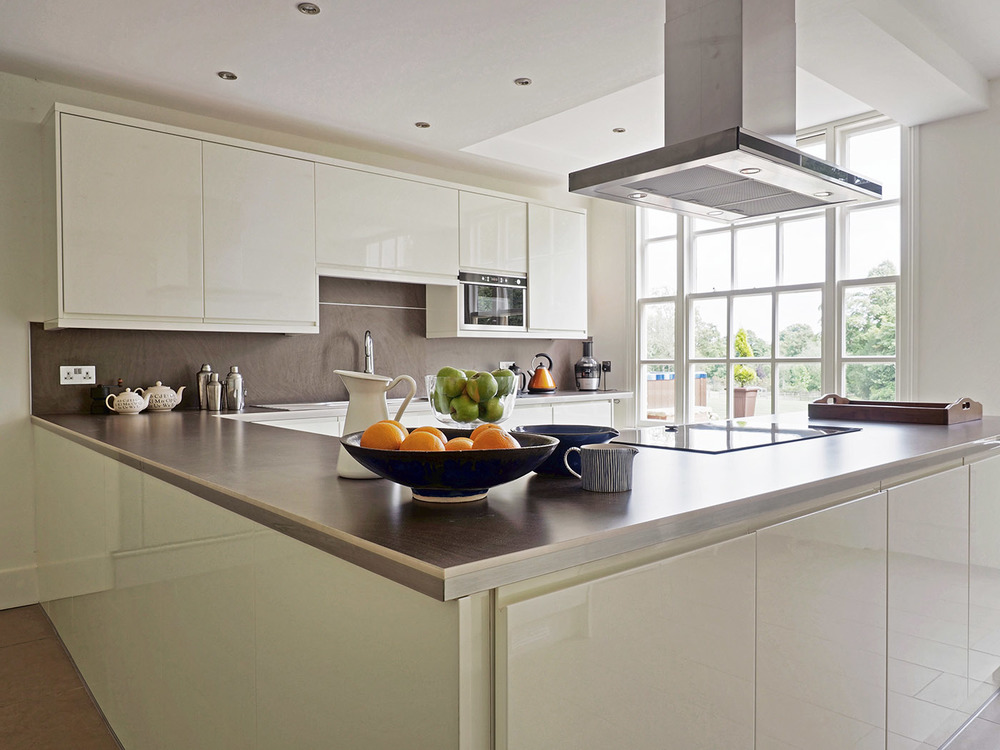
For more examples of my interior photography check out the following:
Nico